top of page


Alex

shilts
-Work in Progress: Aesthetics-
Team Lead / Lead Programmer / Level Designer
The Millennial Stone

2D Platformer || Unity 4.5 || 5 developers || 2 months
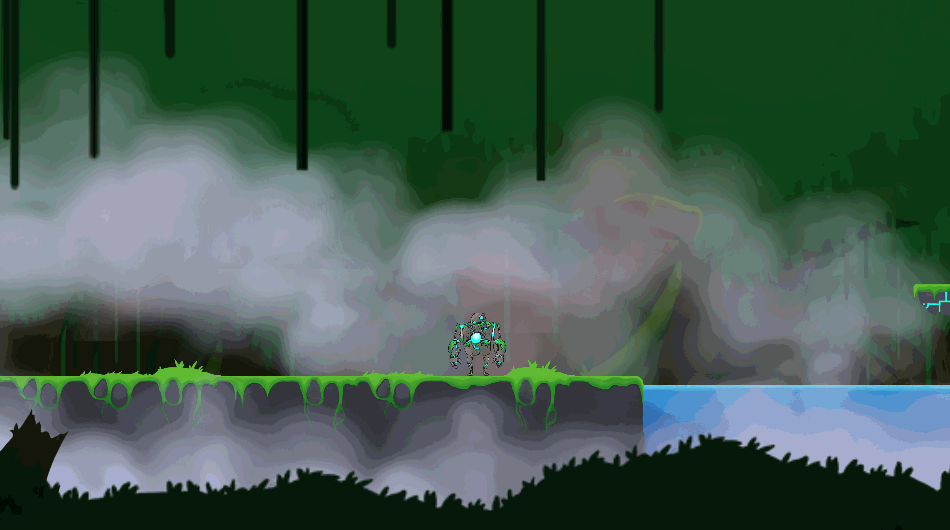
I was the Lead Programmer on The Millennial Stone, and as such wrote all of the project code. I built everything on this page using Unity's C# scripting system and Box2D Physics Engine. The total project amounted to about 3,500 lines of code spanning 40 script files. Below is the final player prefab, covered in colliders and dragging along a dead version of himself for the death effect.

Player Prefab
The Mechanics

The Mechanics
Scroll down for the scripting details
SCRIPTING
This shakes up traditional platforming and allows Players to traverse the environments in interesting ways. The system went through several iterations, but ultimately resulted in three seperate pieces of functionality:
Unity uses Box2D as its physics engine, which syncronizes all physics operations on a special 'Fixed Update' event, so all physics-related functions needed to be seperated and synchronized to keep the player behavior consistent between the editor and a build. Having entirely physics-based mechanics made the player's movement smooth and responsive, especially on spheres.
1. Creating artificial gravity following the player's 'relative down' vector
3. Using 'Runnable Detector' Colliders positioned around the player to detect and discretely rotate the player towards nearby 'runnable' surfaces


This movement is relative to the Player's rotation, allowing them to dash over obstacles even while walking on walls and ceilings. Although dashing is a fairly standard platforming mechanic, the re-orientation changes the way that Players use it.

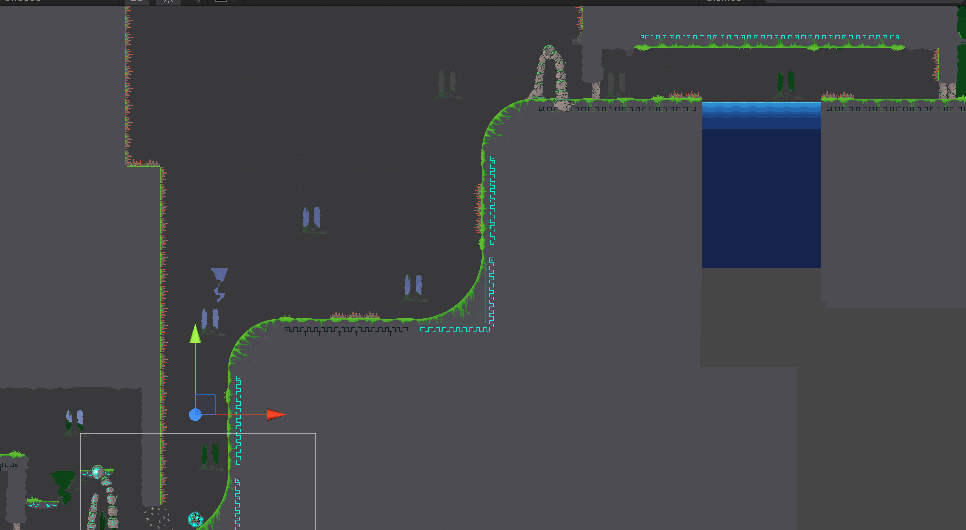
The Breakable Barrier Prefabs are a simple sprite-collider combination with a custom script that can be used to break and fix them (fixing occurs when restarting from checkpoints). Upon their destruction, the Barriers use a special script to play their breaking sound and and spawn a randomized shower of physics-enabled broken piece sprites.
The broken piece sprites can also land in water and cause splashes.
The Camera
To allow the player to rotate towards objects around them in-mid jump that were not beneath them, they have a small array of Trigger Colliders around that rotate with them and constantly look for surrounding 'runnable' surfaces. When one of these triggers is tripped when the player is not 'grounded', they backpack off of the standard Runnable Detector Script and fire their usual Raycasts towards the trigger's position. This rotates them immediately towards the surface if there is enough space for the player to land.
To make walking on walls easier to manage, global gravity was not going to work for the player. Rather than constantly fight with real gravity, the player's Rigidbody2D component has a gravity scale of 0, and all "gravity" is generated by the Controller Script towards their relative 'down'. This meant no messy physiscs attachments or manual position changes. If the players feet are pointing towards a 'runnable 'wall, they fall towards it and can walk on it.
->Wall-Walking
->Dashing
In The Millennial Stone, the mechanics are physics-based with heavy modifications for optimal control and feel.
Everything involved in this piece of functionality is contained in a dedicated 'Runnable Detector' Script. Every 'Fixed Update', the player fires 3-5 raycasts from their feet towards 'relative down' (3 in the air, 5 when grounded for a smoother rotation). The script then parses the hit results in several ways:

2. Using Raycasts fired below the player's feet to determine their 'grounded' state and to rotate them to the average 'runnable' surface normal
If over half of the Raycasts hit Colliders within a specified 'ground distance' below the player, their state is changed to 'grounded'. When grounded on 'runnable' surfaces, the player fires two additional raycasts and finds the average normal vector from the hit responses.
Regardless of being grounded or not, every Fixed Update while above a 'runnable' surface, the player finds the angle difference between the average normal vector and their 'relative up' vector and subtracts this angle from their current rotation.
If there is no ground below the player, they fire 3 raycasts down to see if there are any 'runnable' surfaces beneath them. They do this to allow players to stay attached to surfaces and move with curves even while jumping.
If the current surface collider is the same as the last frame, they are allowed a much larger rotation change between frames. Otherwise they simply fall towards the new surface and orient to it's normal upon landing. This prevents the player from raycasting to a new 'runnable' surface while jumping that is past their current surface and drastically rotating in mid-air.
If the player is falling for a certian time frame in any direction besides global down and there is no runnable beneath them for a certian range, they reset their rotation back to 0 to prevent them from flying off into space.
The Dash is fairly simple, applying a large force to the player in their current 'forward' direction that has a short timer before maximum walking velocity is restored. At the beginning of the Dash, the Player fires several Raycasts that, assuming no colliders block their dash path, instantly shatters all barriers in the Dash range. The Dash moves the Player so fast that the break looks natural, and immediately breaking the barriers prevents the player from getting stuck on them mid-break.
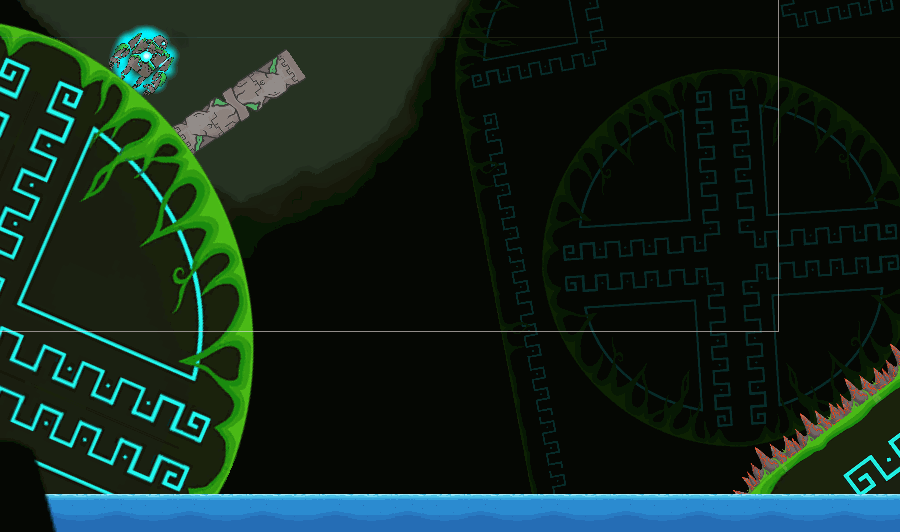
The Dash is the second mechanic, and allows the player to move a discrete distance in the blink of an eye, breaking any Breakable Barriers in their path.
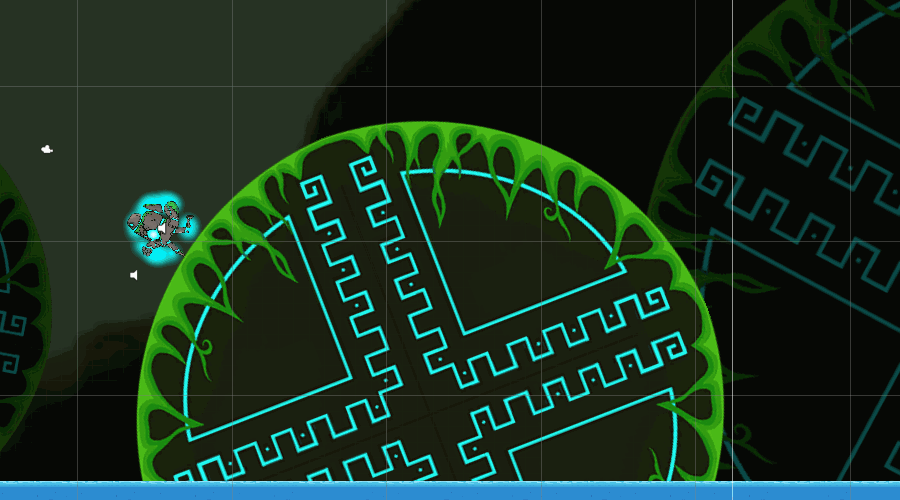
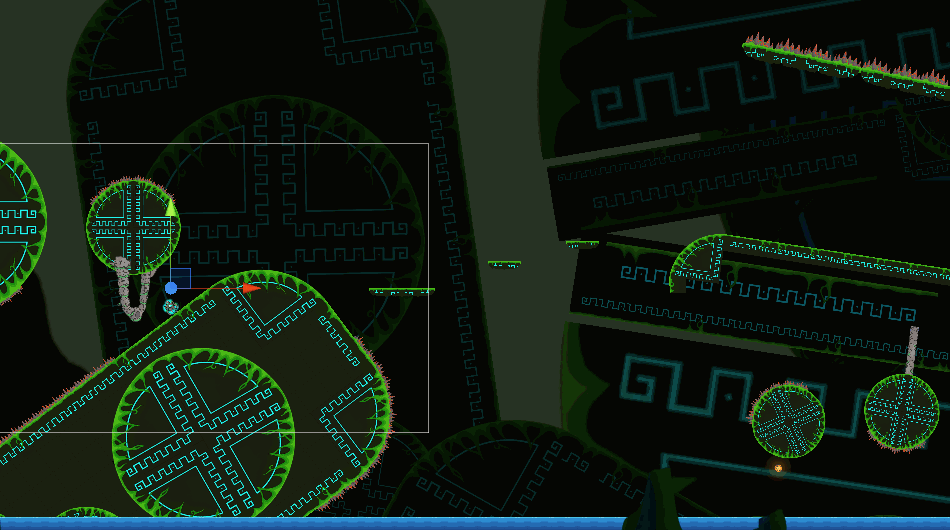
The primary mechanic in The Millennial Stone is Wall-walking, which lets the player attach to special walls and walk along their normal curve.
The Camera
The Dash
Wall-Walking
The Camera in The Millennial Stone received a lot of love over the course of development. A smart, responsive camera is crucial for any game to look and feel as good as it can, and as such the Camera has several systems in place to maximize the player's performance and comfort during play.
During both the sequences of intense platforming and cinematic moments of the game, the Camera tries to always show the player what they want and need to see. This was done very conservitely in order to prevent accidental player death. To accomplish this, the Camera uses basic movement and player behavior prediction algorithms to try and show the most relevant information on screen at all times.
1. The camera does not move directly with the player. Rather, it is constantly trying to reach a destination vector determined by player position and movement.
2. The destination point offsets its position based on the player's current velocity and the input from the right gamepad joystick.

Instead of locking the camera to the players position, which felt very static and fake, the Camera calculates its distance from a reference point that is statically attached to the player, divides it by a constant lag value, and adds the fractional difference to its current world location. Because the camera's lag value is constant, it quickly follows the player if they are far away, but moves very slowly when they are nearby. This creates a smooth transition effect that feels more like being filmed during play.
An early but consistent piece of playtester feedback was that the camera lag felt good, but prevented relevent information from getting on screen fast enough. To counter this, the camera destination point leads the player by offseting relative to the player's velocity. This means that when the player jumps down, the camera moves smoothly below them so they can see where they will land. This small change dramatically improved player performance in the more challenging areas of the game.
The right joystick allows players to look around for a limited distance from their location, in case something interesting is just out of view. Because the Parallaxing effects take their calculations from the camera directly, this creats some nice depth effects.
->Player Tracking
->Cinematics
Cinematics
Player Tracking

Cinematic moments became an important part of the game's aesthetic early in the project once both the Parallax System and several large environmental sprites had been added to the asset list. To allow for very beautiful scripted moments, I wrote a basic cinematic script that took in a user-defined array of structs. Each struct contained world location, new camera size, transition speed, and look duration variables, which it would slowly pop off of a stack and execute. This system, combined with basic camera size change triggers in the environment, allowed for tight control over cinematic camera behavior.
The Parallax System
The Parallax System
The Sprite Parallaxing System was written very early in the project to the enhance the game's aesthetics and create a sense of scope in the world. The early prototypes were rough, but eventually evolved into a polished set of scritps that manipulated environmental sprites to create the illusion of depth. Every non-interactable sprite in the game has a special Parallax Object Script that allows it to receive data from the camera when in the current visible area.
Mathematically, the parallax algorithm is very simple. Every frame, for every visable environmental sprite on screen, the current distance ratio of the sprite (Z distance / maximum camera distance) is multiplied by the camera's change in world position since the last frame and added to each sprite. This means that every frame, objects 'behind' the camera (0 on the Z-axis) follow the player and objects 'in front' of the camera move against them, no more than an identical absolute speed. This creates a smooth and noticable sense of distance and the illusion of depth. When the player dies, every sprite that had been parallaxed since the last valid checkpoint resets to prevent an accumulation of offsets.

This section is primarily focused on the C# implementation of the Menus and HUD. For a full description of the actual design of the UI, head to the GUI/HUD section, linked here.
I created a Base Menu class halfway through development, offering the basic ability to contain and manage a traversable list of selectable buttons that performed actions when activated. The Main Menu, Level Select Menu, and Pause Menu all stemmed from this base class. They each have a custom set of unique buttons that inherit from a Base Menu Button class, containing individual instructions to carry out upon activation. Selecting different buttons can be done by moving between them with the WASD keys or a gamepad joystick, inputs that are handled by the menus themselves to prevent unintended menu behavior.
The Menus
->The Main Menu
The Menus
The Main Menu

The opening sequence, being one of only two moments in the game where control is denied from the player, was hardcoded into a special Game Start Script. The moment the player starts the game, said script instructs the Camera (cinematic zoom), Player object (awaken animation), Obelisk object (activate animation), and Main Menu (disappear) to carry out the sequence of timed actions that make up the game's opening.
The Main Menu, seen above, is a simple list of the standard menu options. New game triggers the Game Start Script to begin the opening sequence, Controls toggles the visibility of a controller input layout sprite, Level Select opens a new menu that allows jumping to any level in the game, and
Exit Game closes the Unity application.
->The Level Select Menu
The Level Select Menu
Checkpoints and Hazards


This menu section is fairly simple. Upon being selected, each Level Select option calls a special command to load that level directly. The images on the right side of the menu, usually disabled, are enabled individually by the currently active menu option to have the right sprite visibile for each level. The 3 Orb icons also light up to indicate which orbs the player has found in each level.
The Pause Menu, rather than re-spawning every time the player presses the Pause Key, is always present, but disabled, within the Player Prefab. When the player pauses, the Pause Menu Script sends out a signal to all relevant scripts to stop updating, re-focused the control inputs to the now-active Pause Menu, and tells the Player's HUD script to fade-in the Orb Inventory List in the top left of the screen. Selecting the Resume option or un-pausing simply reverses the process.
There were a number of smaller systems that helped the game be both more interesting and less frustrating.
Misc. Systems
->The Pause Menu
->Checkpoints & Hazards
The Menu also offers the option to Restart at Checkpoint, which tells the Player Respawn Script to kill and re-spawn the player (skipping the death animation), and an Exit to Menu option, which simply loads the first level (since the Main Menu is built directly inside).
Miscellaneous Systems
The Pause Menu
Games with challenge require checkpoints to function, and The Millennial Stone was no exception. The checkpoint system was created early and polished throughout development, and ended up playing a vital role in a working collectible and parallax system.
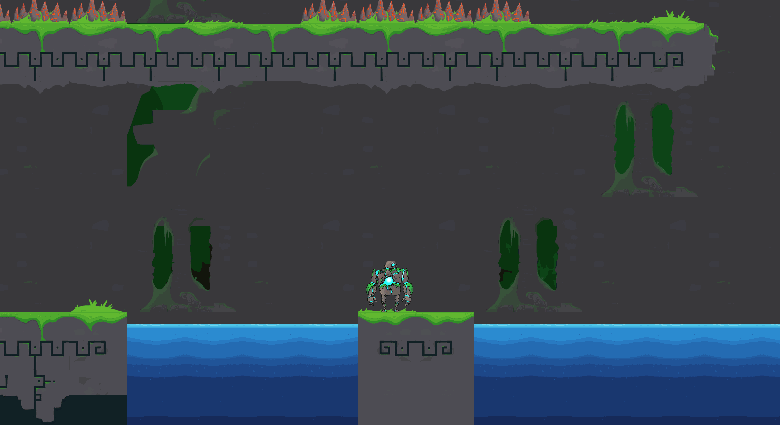
There are two types of Hazards in the game: Spikes and Water. Both of them kill you quickly and respawn you instantly, allowing a fast return to gameplay.
->The Mural Orbs
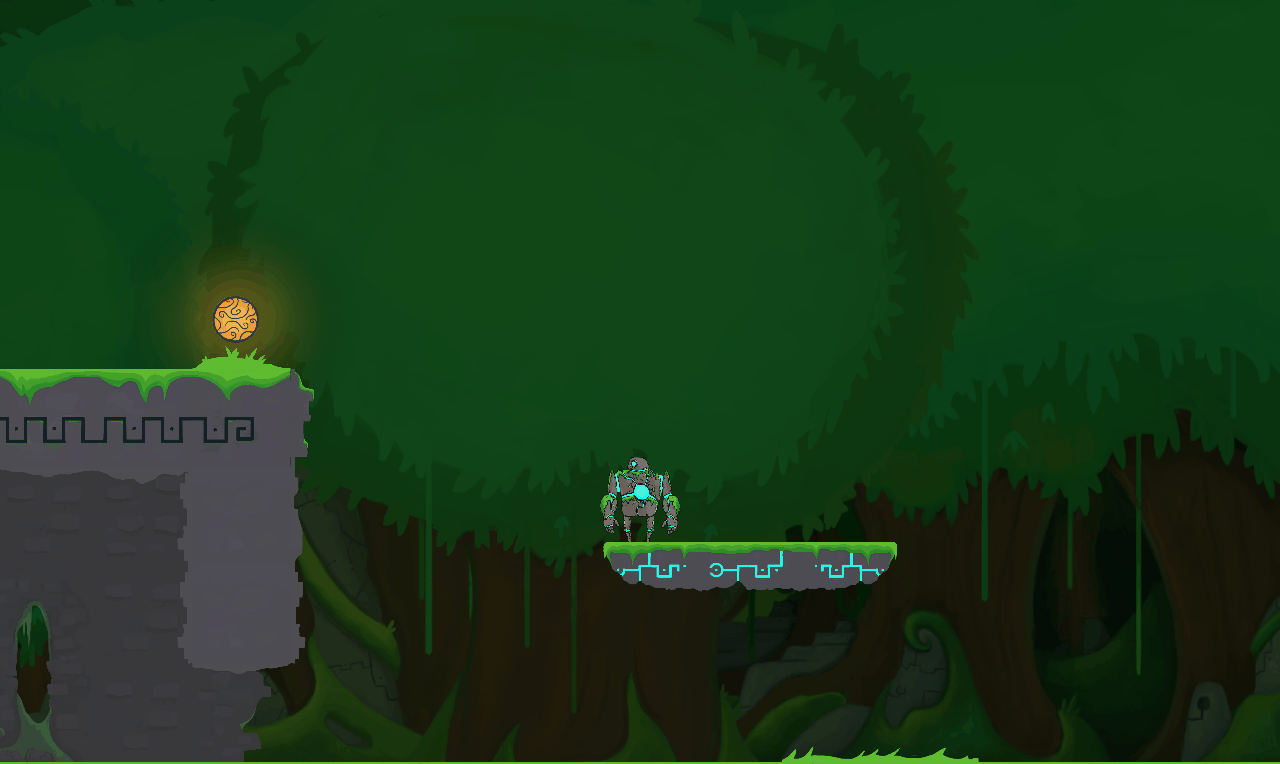
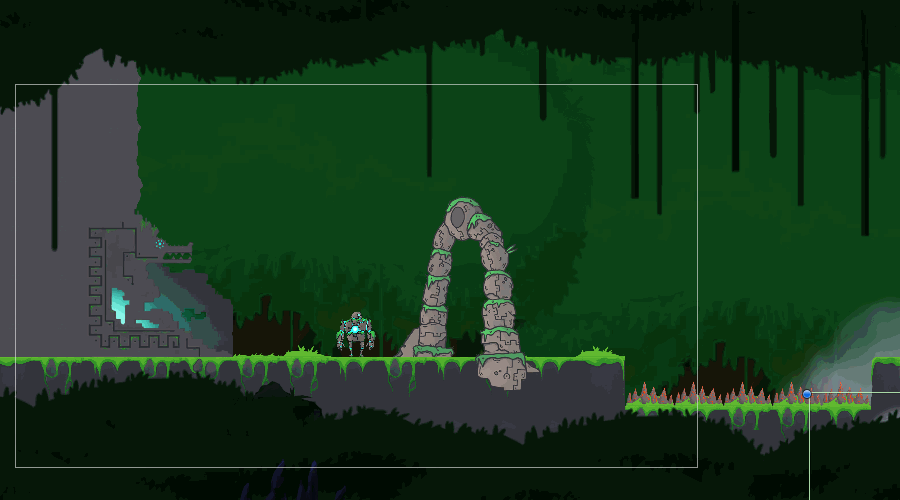
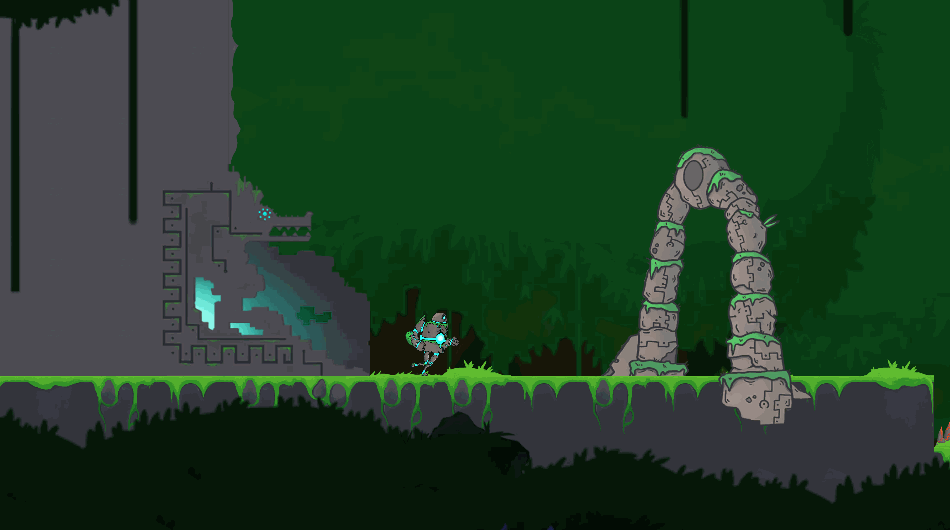
The Mural Orbs served both as The Millennial Stone's collectibles and primary source of narrative. There are three in every level for the player to find, hidden in dark corners and visible yet hard-to-reach places. They bob and glow with a warm orange light, standing out from the static and cool surrounding environments.
Bringing them to the Murals in each level's final area allows the player to reveal more of the world's lost history. Each Mural has a unique heiroglyphic scene from the past chiseled into it, flooded with energy upon contact with its corresponding Mural Orb. The Murals have no text or direct explination, and are completely open to player interpretation.
Upon collection, a Mural Orb sprite attaches to the player's camera and smoothly interpolates to the scale and location of its corresponding HUD Orb Inventory slot. Each Orb has a different ID#, so their location in the world corresponds with a slot in the list relative to their order in the level.
The Mural Orbs
Scripting The Millennial Stone was an awesome experience. C# came fairly naturally after my experience with C++ and Java, and Unity was an excellent first editor to get my developer feet wet.
10/10. Would code again.

bottom of page